In April, Dave and I took a short sushi making class. We really enjoyed it. We made inside out California rolls. We decided to try it at home as sushi is a great fun and healthy way to incorporate seafood into our menu.
The first thing we learned in class involved the rice. Our instructor recommended using Nishiki rice. We bought a bag at a local Asian grocery market. Per her instructions, we rinsed and massaged it several times until the white water ran clear (washing off the flour/starch).
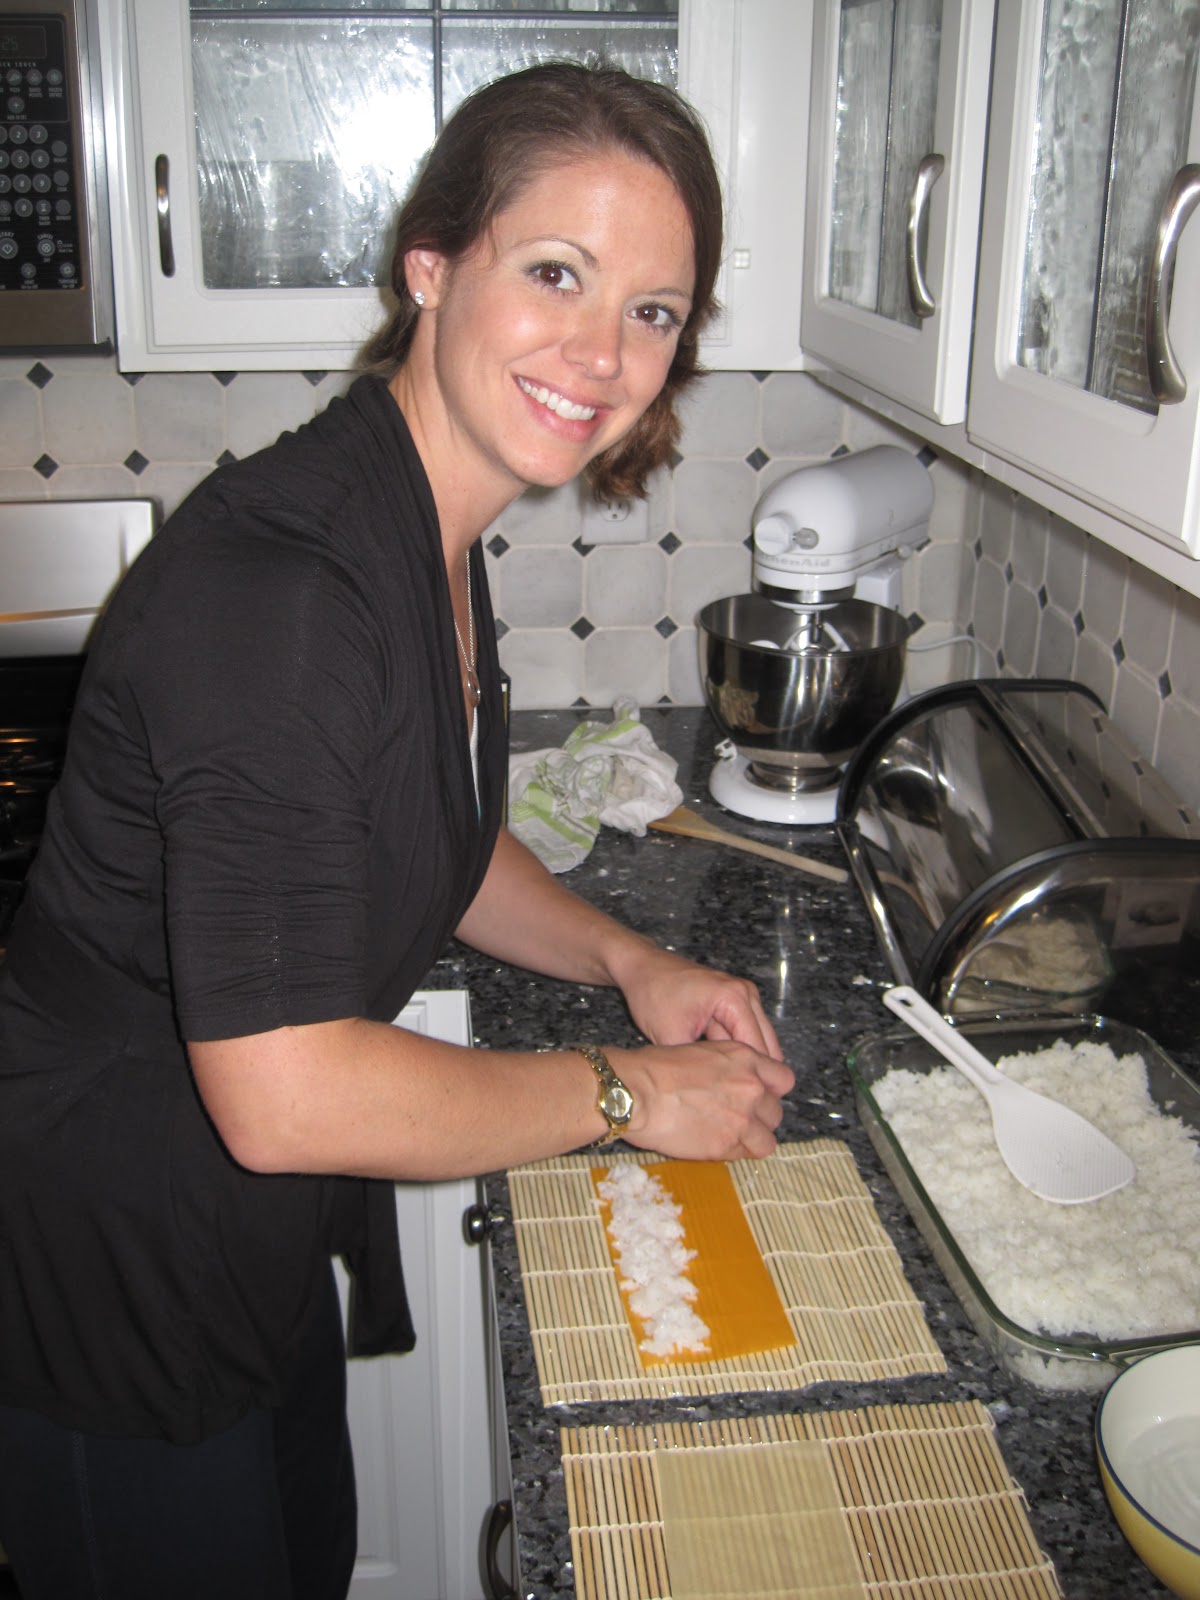
After letting the rice cool for 10-15 minutes in the pot, we moved it to our glass dish. We 'cut' the rice and added between five and seven tablespoons of sushi vinegar (rice vinegar). The white paddle was our rice cutter. The instructor also recommended fanning the rice as you cut it.
While the rice cooled in the glass dish, we covered our sushi mats with plastic wrap. This makes clean up so much easier!
While I prepped the mats and other materials, Dave sliced up an avocado and cucumber (peeled and seeded) into thin slices. While cutting thin slices with a knife worked for us, another option might involve using a vegetable peeler for super thin slices instead of a knife.
In all, we used sushi rice, cucumber slices, avocado slices, shrimp (boiled and chopped), and toasted sesame seeds, soy paper since I do not like nori (seaweed) and a bowl of water for dipping fingers/hands (rice gets sticky!).
Here I was getting ready to work on our first roll. We cut each soy paper in half to make one roll. We filled the paper about 2/3 to 3/4 full of rice. The rice layer measured about 1/4" thick so we could roll it. Each time we grabbed rice with our hands, we dipped our hands in water so the rice did not stick to our fingers and spread nicely on the soy paper. After adding the rice, we sprinkled toasted sesame seeds on it.
Since we made inside out rolls, we flipped each soy paper/rice combination over on the mat. We learned after the first round (we made six rolls) that it's best to flip the soy papers as close to the bottom edge of the sushi mat as possible for better rolling.
After flipping each roll, we layered it with shrimp, cucumber, and avocado.
The mat was a hug help in rolling sushi. The extra 1/3 to 1/4 of the soy paper that was left uncovered must be tucked under the seafood to ideally 'close' the roll. The sushi mat helped accomplish this task. Upon 'closing' it, we proceeded to roll it until it became a 'log'.
Viola! One of our first homemade sushi rolls!
After making the roll, we sliced them up (keeping the knife wet so it didn't stick to the rice on the roll). We cut it in half first. Then we cut each half into three or four slices.
After slicing the sushi roll, we plated it. It's important to remember to plate sushi with the inside facing upwards for better presentation. We recognized that some of our soy paper was still showing, which we hope to correct next time we make it.
To accompany the sushi, we mixed wasabi paste with soy sauce. Thankfully, we each had our own bowl, because Dave liked his much spicier than mine.
Even Kaitlyn and Madelyn tried the sushi. We made some vegetarian rolls in case they didn't like the shrimp. Kaitlyn ended up eating five pieces of shrimp without the rolls. Below, Dave tried to teach her to use chop sticks. She wanted to use them again today.


 a
a


