Saturday, May 19, 2012

Pirates and Princesses at the Zoo


Our zoo recently hosted a pirate and princess day. Kaitlyn transformed from soccer star into Izzy the Pirate from Jake and the Neverland Pirates on Disney. We met up with some of her princess friends and Ms. Crystal.  Everyone had a great time!

Kaitlyn poses with a fellow lady pirate. 

Larkin, Hannah and Kaitlyn - say cheese!!

The girls see a HUGE bunny and got to pet it.  
 

Even pirates get hugs from their mommies!

The girls got their nails painted by Rapunzel. 
This was Kaitlyn's first time getting her fingernails painted.  She loved it!

After finger nail painting, Kaitlyn opted to try out some face paint. 

Madelyn decided to just soak it all in.  No face paint for her!

Larkin and Hannah danced for us while Kaitlyn had her face painted.  

Tah-dah!

The girls made wands to carry around the zoo.  Kaitlyn tried to turn her daddy into a frog and then an alligator.  

Madelyn decided to get a wand too!

Silly faces!!

Since it turned out to be a warm, sunny day, Madelyn hitched a ride on daddy.  

The girls checked out several animal habitats.  

Time for one last picture in front of the meerkats. 

Bye-bye Hannah!!

Abra-ka-dabra!

Kaitlyn's Soccer Game

Kaitlyn had her last soccer game today.  She played great.  While she did not score in this video, she scored one goal and almost made two more.  She played great defense too!


Sunday, May 13, 2012

Homemade Sushi


In April, Dave and I took a short sushi making class.  We really enjoyed it.  We made inside out California rolls.  We decided to try it at home as sushi is a great fun and healthy way to incorporate seafood into our menu.  

The first thing we learned in class involved the rice.  Our instructor recommended using Nishiki rice.  We bought a bag at a local Asian grocery market.  Per her instructions, we rinsed and massaged it several times until the white water ran clear (washing off the flour/starch).

After letting the rice cool for 10-15 minutes in the pot, we moved it to our glass dish.  We 'cut' the rice and added between five and seven tablespoons of sushi vinegar (rice vinegar).  The white paddle was our rice cutter.  The instructor also recommended fanning the rice as you cut it. 
 
 While the rice cooled in the glass dish, we covered our sushi mats with plastic wrap.  This makes clean up so much easier! 


While I prepped the mats and other materials, Dave sliced up an avocado and cucumber (peeled and seeded) into thin slices.  While cutting thin slices with a knife worked for us, another option might involve using a vegetable peeler for super thin slices instead of a knife.
a

In all, we used sushi rice, cucumber slices, avocado slices, shrimp (boiled and chopped), and toasted sesame seeds, soy paper since I do not like nori (seaweed) and a bowl of water for dipping fingers/hands (rice gets sticky!).  

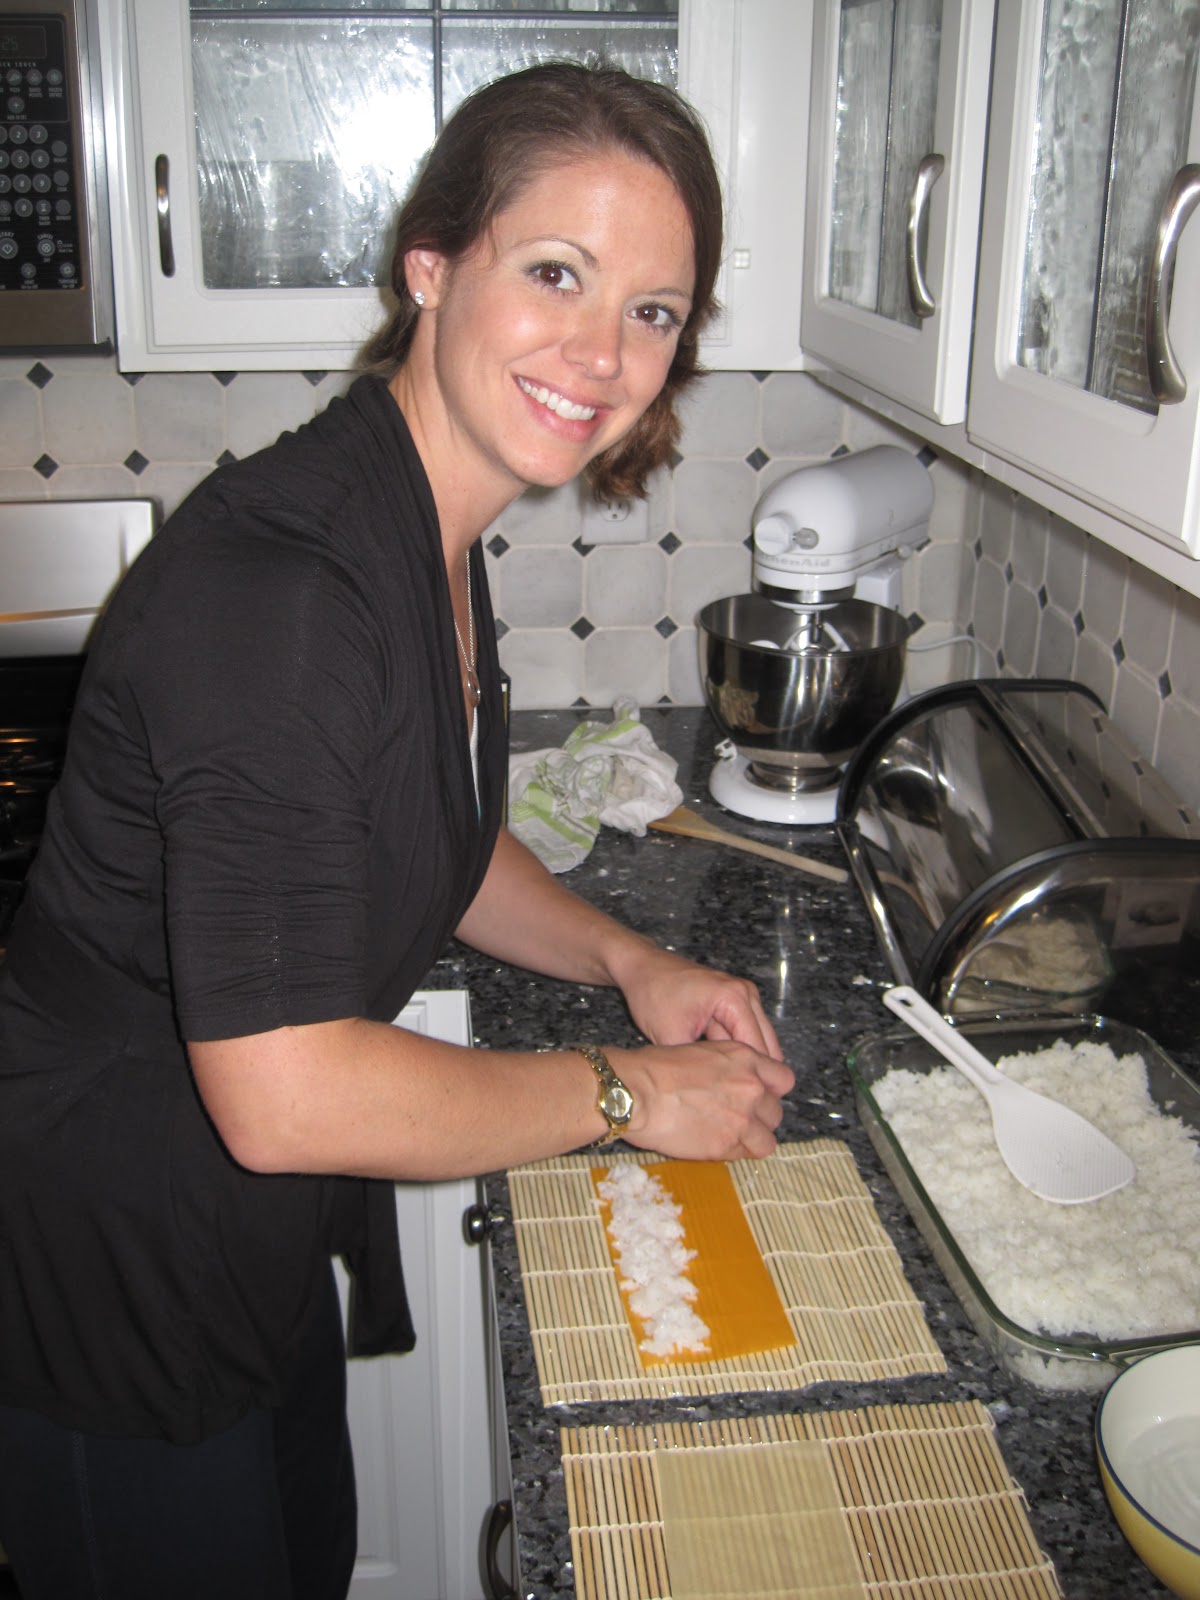
Here I was getting ready to work on our first roll.  We cut each soy paper in half to make one roll.  We filled the paper about 2/3 to 3/4 full of rice.  The rice layer measured about 1/4" thick so we could roll it.  Each time we grabbed rice with our hands, we dipped our hands in water so the rice did not stick to our fingers and spread nicely on the soy paper.  After adding the rice, we sprinkled toasted sesame seeds on it. 

 Since we made inside out rolls, we flipped each soy paper/rice combination over on the mat.  We learned after the first round (we made six rolls) that it's best to flip the soy papers as close to the bottom edge of the sushi mat as possible for better rolling. 

After flipping each roll, we layered it with shrimp, cucumber, and avocado. 
  The mat was a hug help in rolling sushi.  The extra 1/3 to 1/4 of the soy paper that was left uncovered must be tucked under the seafood to ideally 'close' the roll.  The sushi mat helped accomplish this task.  Upon 'closing' it, we proceeded to roll it until it became a 'log'. 

Viola!  One of our first homemade sushi rolls! 

 After making the roll, we sliced them up (keeping the knife wet so it didn't stick to the rice on the roll).  We cut it in half first.  Then we cut each half into three or four slices. 
After slicing the sushi roll, we plated it.  It's important to remember to plate sushi with the inside facing upwards for better presentation.  We recognized that some of our soy paper was still showing, which we hope to correct next time we make it. 


To accompany the sushi, we mixed wasabi paste with soy sauce.  Thankfully, we each had our own bowl, because Dave liked his much spicier than mine.   


 Even Kaitlyn and Madelyn tried the sushi.  We made some vegetarian rolls in case they didn't like the shrimp.  Kaitlyn ended up eating five pieces of shrimp without the rolls.  Below, Dave tried to teach her to use chop sticks.  She wanted to use them again today. 


Strawberry Picking Adventure


 We went strawberry picking with friends of ours in early May.  It was an overcast day, which turned out to be a welcome relief from the sun and heat.  It made for a perfect morning of picking strawberries followed by lunch with our friends had a fun food join near the strawberry patch.

As we left, Kaitlyn asked when would we go strawberry picking again.  Hopefully, we'll make this an annual outing.  


 Charlie, Kaitlyn & Garet after picking and eating lots of strawberries. 


 Madelyn trying her best to find some delicious toddler sized strawberries.  She enjoyed walking through the patch. 
 Garet and Kaitlyn trying to decide if they found a good strawberry. 

The strawberries we brought home.  Both boxes were full, but we already pulled some out of the one box. 
Fresh strawberries in sugar - getting ready to them ready for the pie. 
Kaitlyn checking out the ingredients for the strawberry pie.
Kaitlyn showing off a little, tasty strawberry. 
 Kaitlyn and I mixed the muffin batter and scooped it into the muffin tins. 

Tah-dah - our finished product!

A unique looking strawberry we found in the patch.  

Madelyn enjoying fresh strawberries with her yogurt.  
Kaitlyn eating our muffins straight from the oven.  

Dave showing off all the strawberries we plan to freeze.

After I made the filling, Dave puts it in the pie crust he worked on while Kaitlyn and I made muffins. 

After teamwork between Dave and I, we had a wonderful strawberry pie.  Thank you Cook's Illustrated for the recipe!! 

We decided that sparkling wine would be the perfect accompaniment to the strawberry pie.  We did not finish making it until after the girls went to bed.  

The pie was so good, we let Kaitlyn have it for breakfast.  It has fruit in it afterall!

Madelyn enjoyed the muffins with a little butter.  

Here is the strawberry pie recipe from cook's illustrated:

Fresh Strawberry Pie

Ingredients 

Filling  

  • 4 pints (about 3 pounds) fresh strawberries , gently rinsed and dried, hulled (see note)
  • 3/4 cup (5 1/4 ounces) sugar
  • 2 tablespoons cornstarch
  • 1 1/2 teaspoons Sure-Jell for low-sugar recipes (see note)
  • Generous pinch Table salt
  • 1 tablespoon juice from 1 lemon
  • 1 recipe Baked Pie Shell (see related recipe)
  • Whipped Cream  
  • 1 cup cold heavy cream
  • 1 tablespoon sugar 
  • One recipe Cook's Illustrate Pie Dough, or store bought pie crust 

Instructions

  1. FOR THE FILLING: Select 6 ounces misshapen, underripe, or otherwise unattractive berries, halving those that are large; you should have about 1½ cups. In food processor, process berries to smooth puree, 20 to 30 seconds, scraping down bowl as needed. You should have about ¾ cup puree.
  2. Whisk sugar, cornstarch, Sure-Jell, and salt in medium saucepan. Stir in berry puree, making sure to scrape corners of pan. Cook over medium-high heat, stirring constantly with heatproof rubber spatula, and bring to full boil. Boil, scraping bottom and sides of pan to prevent scorching, for 2 minutes to ensure that cornstarch is fully cooked (mixture will appear frothy when it first reaches boil, then will darken and thicken with further cooking). Transfer to large bowl and stir in lemon juice. Let cool to room temperature.
  3. Meanwhile, pick over remaining berries and measure out 2 pounds of most attractive ones; halve only extra-large berries. Add berries to bowl with glaze and fold gently with rubber spatula until berries are evenly coated. Scoop berries into pie shell, piling into mound. If any cut sides face up on top, turn them face down. If necessary, rearrange berries so that holes are filled and mound looks attractive. Refrigerate pie until chilled, about 2 hours. Serve within 5 hours of chilling.?
  4.  FOR THE WHIPPED CREAM: Just before serving, beat cream and sugar with electric mixer on low speed until small bubbles form, about 30 seconds. Increase speed to medium; continue beating until beaters leave trail, about 30 additional seconds. Increase speed to high; continue beating until cream is smooth, thick, and nearly doubled in volume and forms soft peaks, 30 to 60 seconds.
  5. Cut pie into wedges. Serve with whipped cream.

    Here is the link to the strawberry muffins:  http://allrecipes.com/recipe/florida-strawberry-muffins/

    As always, Bon Appetit!!